
Several Ring products are going on sale, so check back as the day gets closer. Also check out our Ring Security System review and Best Home Security Systems pages for security camera and other home security-related deals.
The Ring video doorbell camera is pretty sweet, but what if you’re not tech savvy?
Here are 10 easy steps you’ll follow to get your own Ring doorbell up and running (and don’t worry if anything looks intimidating—we promise to make each step easy to understand).
Steps to Install a Ring Video Doorbell
Special Note on Ring Video Doorbell Elite
If you like the idea of being able to answer your front door from pretty much anywhere in the world with one of the best smart doorbells on the market, but the thought of brandishing a drill and fiddling with exposed wiring makes you cringe, don’t worry. We’ve put together some easy-to-follow steps based on our own Ring installation experiences, and we’ve also thrown in a few bonus pro tips and tricks from an experienced technician to help make your Ring doorbell cam installation a breeze.
Step 1: Gather Tools
While each Ring doorbell kit contains different extras, they all come with pretty much everything you need to install your doorbell, including a screwdriver, screws, a charging cable (if needed), and installation instructions.
In addition to these, you may need a drill if you have to screw your Ring Doorbell into brick or stucco. The Ring Video Doorbell 2 and the Ring Video Doorbell Pro come with a special masonry bit to make that part easier. We also recommend that you have a box cutter or flathead screwdriver on hand to help you remove your old doorbell.
Step 2: Charge the Battery
If you’re installing a Ring Video Doorbell Pro, you can skip this step.
Once you have your Ring unboxed, locate the battery and plug it into power using the included charging cable. We’ve learned that it can be tricky to get the battery out of the Ring 2 because it’s designed for easy pop-out after the doorbell has already been mounted. We suggest that you hold it against a flat vertical surface (like a wall) to remove it. The wall helps to push the battery out and gravity helps it drop down into your hand.
With your battery plugged in you should see a red light and a green light to indicate the battery is charging. Charging may take four to six hours, so be patient. Once the battery is fully charged the red light will turn off and you’ll literally have the green light to get started with installation.
Step 3: Connect to Internet
Download the Ring app and follow the onscreen instructions to link your Ring Video Doorbell to your home’s Wi-Fi network. The app will walk you through everything you need to do, and it takes only about 10 minutes to get it all set up and connected.
Pro Tip
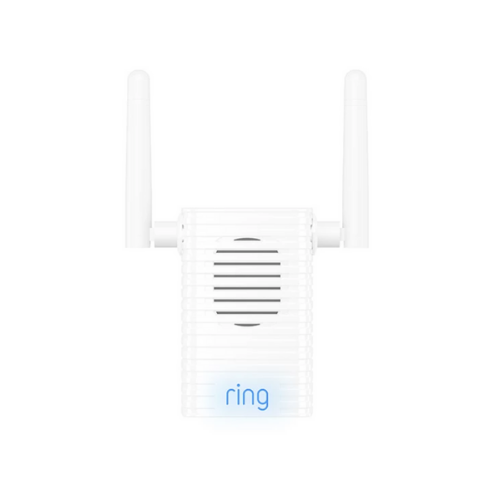
If your Wi-Fi signal just isn’t strong enough to connect to your Ring Video Doorbell, consider getting a Ring Chime Pro.
- Plugs into standard outlet
- Boosts Wi-Fi signal
- Works as doorbell chime
Step 4: Shut Off Power
Go to your home’s breaker box (usually in a garage, basement, or in the rear of your home) and shut off power to your doorbell. This is for safety reasons, since you’ll be working with exposed wiring.
Step 5: Remove Old Doorbell
Use a screwdriver or boxcutter to remove your old doorbell’s faceplate, exposing the screws. Unscrew the old doorbell from the wall and gently pull it out, exposing the two power wires.
The doorbell wires should still be wound around screws on the inside of the old doorbell, so be careful with this part, as you don’t want to damage these wires by pulling too hard. Loosen the screws to detach the wires and take the old doorbell off completely.
Step 6: Attach Mounting Bracket
At this point, your wall should just have the hole where your old doorbell used to be, with the two doorbell wires hanging out. Before you attach your mounting bracket, open your Ring app and the doorbell’s live video feed.
- Hold your Ring Doorbell up against the surface over the hole in the same spot where you’re going to mount it and check the picture on your phone to make sure you’re getting the angle you want. If you’re not, now is the time to use one of the angled mounting brackets to tilt the camera up, down, left, or right.
- Once you’ve decided on placement, use the included level tool to make sure the mounting bracket is straight, and use a pencil to mark the location for the new screw holes. Once they’re marked, remove the level.
- If you’re using an angled mount, go ahead and attach it to the wall first by screwing it in, then attach the mounting bracket to it. Otherwise, screw the mounting bracket directly to the wall over the hole left by your old doorbell so the wiring comes through the bracket’s hole.
Note: If you’re installing on brick or stucco, you’ll need to use the included masonry bit to drill holes for the small, white plastic anchors used to hold screws in place. After you drill the holes in the locations you marked, push the anchors in, position the mounting bracket on top of them, and then screw the mounting bracket screws into the anchors. If you have wood or vinyl siding, don’t worry about using the anchors.
Pro Tip
Step 7: Attach Doorbell Wires (Optional)
If you want to connect your Ring to your existing doorbell chime to prolong its battery life or make your chime ring when a visitor presses the doorbell button, you can now attach those two doorbell wires to your Ring. If you want a fully wireless doorbell because you’re using a separate Ring Chime (or you’re fine with just getting doorbell notifications on your smartphone), then you can skip this part.
First, loosen the two screws on the mounting bracket that are located directly over the hole where the wiring is sticking out of your wall. Then, take the wires and wrap one around each screw—it doesn’t matter which one, as long as the wires aren’t touching. Make sure each has a good connection to the screw. Tighten the screws gently if needed. Congratulations! You’ve now closed the circuit.
Note: If you have a digital doorbell chime (one that makes more of an electronic two-toned sound than the traditional “ding dong” chime), then this is the perfect time to attach the included diode. Check your installation instructions for more information about this step.
Step 8: Mount Ring Doorbell
We’ve finally reached the exciting part. Position your Ring Video Doorbell just above the bracket and press in and down until it clicks into place. It’s okay to use a little bit of force on this step.
Step 9: Restore Power
Time to flip that breaker switch again to make your device live. Go ahead and test it out and make sure everything is working. If you have your Ring Video Doorbell wired to your interior chime and it’s not chiming, remove the faceplate and double-check that your connections are secure. (If you have a digital chime, now is also a good time to reverse your diode if necessary.)
If everything seems to be in order, you can screw the two included security screws into the underside of the faceplate using the small end of the included screwdriver.
Step 10: Set App Preferences
Your Ring Doorbell installation is complete. Now you can use your Ring app to play with features, set your motion detection and night vision settings, choose what kinds of notifications you want, and select what areas you want your camera to cover.
Compare Ring Video Doorbells
| Price |
| Power source |
| Installation type |
| Video quality |
| Field of view |
|
Best overall
|
Best for budgets
|
Best for style
|
Best for new construction
|
Best for renters
|
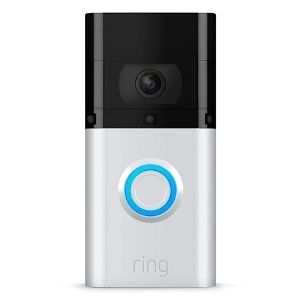
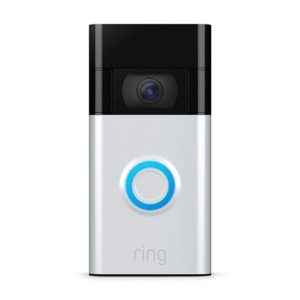
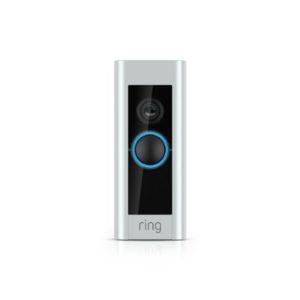
| Ring Video Doorbell 3 Plus | Ring Video Doorbell (2nd Gen) | Ring Video Doorbell Pro | Ring Video Doorbell Elite | Ring Peephole Cam |
 |
 |
 |
 |
 |
| $229.99 | $99.99 | $249.99 | $349.99 | $129.99 |
| Battery, wired | Battery, wired | Wired only | Wired (Power over Ethernet) | Battery only |
| DIY | DIY | DIY | Professional recommended | DIY |
| 1080p | 1080p | 1080p | 1080p | 1080p |
| 160º | 155º | 160º | 160º | 155º |
| View on Amazon | View on Amazon | View on Amazon | View on Amazon | View on Amazon |
| Read review | Read review | Read review | Read review | Read review |
*Amazon.com list price as of 10/08/2020 at 4:35 p.m. (MT). Read full disclaimer.
FAQs
Are Ring Doorbells compatible with smart home devices?
Yes, Ring Doorbells are compatible with smart locks, smart lighting, and more. Ring Security alarms can act as smart home hubs so you can add multiple Z-Wave devices.
What’s the difference between the Ring Video Doorbell Pro and the Nest Hello?
Both doorbells have a camera with high-definition video, a motion sensor, two-way communication, and on-demand video. Nest Hello has pre-recorded messages you can play for visitors if you’re not available to talk, but Ring doesn’t. Nest has 24/7 video recording, but Ring records only motion-triggered events. Ring costs about $20 more, but its cloud subscription fee costs $2 less a month than Nest’s.
What size are the screws for the Ring Video Doorbell?
The Ring Doorbell screw size is a T6. If you ever lose a screw or need Ring Doorbell replacement parts, you can find them on Ring.
The post How to Install a Ring Video Doorbell in 10 Easy Steps appeared first on SafeWise.
Article source here: How to Install a Ring Video Doorbell in 10 Easy Steps
No comments:
Post a Comment